VintAGE-Vans

Would you like to react to this message? Create an account in a few clicks or log in to continue.

BRINGING IT ALL TOGETHER.... A's, G's & E's


+10
66e100pu
Space Truckin
millwright71
Digz
66BC
homebrew
A100 Wrench
kookykrispy
Big W
suicideking
14 posters

    65' chassis swap

    suicideking
    suicideking


    Number of posts : 71
    Location : Mesa, AZ
    Registration date : 2013-06-13

    65' chassis swap Empty 65' chassis swap

    Post by suicideking Tue Jul 22, 2014 6:31 pm

    Finished the chassis swap for a full tubed rails, IFS front and C-notched rear. All scratch built suspension. This is the first time on wheels since undertaking the project. 65' chassis swap Image22
    Custom four link
    65' chassis swap Image23
    65' chassis swap Image24
    Big W
    Big W


    Number of posts : 3282
    Location : Saskatoon,Sask,Canada
    Age : 60
    Registration date : 2011-01-13

    65' chassis swap Empty Re: 65' chassis swap

    Post by Big W Tue Jul 22, 2014 9:38 pm

    That looks real nice. What size engine you putting in it?
    suicideking
    suicideking


    Number of posts : 71
    Location : Mesa, AZ
    Registration date : 2013-06-13

    65' chassis swap Empty Re: 65' chassis swap

    Post by suicideking Tue Jul 22, 2014 9:43 pm

    Inline six from a trailblazer. Adding some boost with a turbo kit
    kookykrispy
    kookykrispy


    Number of posts : 1533
    Location : Helendale, CA
    Age : 50
    Registration date : 2009-05-22

    65' chassis swap Empty Re: 65' chassis swap

    Post by kookykrispy Wed Jul 23, 2014 12:00 am

    That van is sure going to be a helluva lot different than when you bought it!!
    A100 Wrench
    A100 Wrench


    Number of posts : 572
    Location : Sunnyslope,AZ
    Registration date : 2013-05-12

    65' chassis swap Empty Re: 65' chassis swap

    Post by A100 Wrench Wed Jul 23, 2014 6:02 am

    Way Cool
    suicideking
    suicideking


    Number of posts : 71
    Location : Mesa, AZ
    Registration date : 2013-06-13

    65' chassis swap Empty Re: 65' chassis swap

    Post by suicideking Thu Jul 24, 2014 8:05 pm

    Welded up the panard bar to locate the rear left and right. Scratch built except for the bar itself. Some of you die-hards will recognize it as the original steering link. Thought including it would be a little tip of the hat to the old school. 65' chassis swap Image2565' chassis swap Image26
    This van project has tested and bettered my TIG welding skills. Trying to hold the project up to a tight final piece has forced me to make every part clean fit.
    suicideking
    suicideking


    Number of posts : 71
    Location : Mesa, AZ
    Registration date : 2013-06-13

    65' chassis swap Empty Re: 65' chassis swap

    Post by suicideking Sat Jul 26, 2014 2:13 pm

    65' chassis swap Image28
    65' chassis swap Image29

    Installed.
    homebrew
    homebrew


    Number of posts : 70
    Location : oHIo
    Registration date : 2013-04-02

    65' chassis swap Empty Re: 65' chassis swap

    Post by homebrew Fri Aug 08, 2014 2:12 pm

    Looks fantastic!  cheers
    66BC
    66BC


    Number of posts : 159
    Location : Los Angeles/ Thousand Oaks, CA.
    Age : 45
    Registration date : 2010-01-05

    65' chassis swap Empty Re: 65' chassis swap

    Post by 66BC Sat Aug 09, 2014 12:14 am

    Those are some skills to have. Its looking good. Its going to be nice to have a vintage van with modern handling.
    suicideking
    suicideking


    Number of posts : 71
    Location : Mesa, AZ
    Registration date : 2013-06-13

    65' chassis swap Empty Re: 65' chassis swap

    Post by suicideking Sat Aug 09, 2014 11:03 am

    I got the steering brackets back from the waterjet and welded them up last night. decided to drill and tap the attachments to the lower member just in case they need to be relocated for the engine. The angle to the steering box is just about right.
    65' chassis swap Img_4512
    65' chassis swap Img_4513
    65' chassis swap Img_4515
    65' chassis swap Img_4516
    65' chassis swap Img_4517
    65' chassis swap Img_4518
    Digz
    Digz


    Number of posts : 3794
    Location : United States Six Lakes MI
    Registration date : 2008-05-17

    65' chassis swap Empty Re: 65' chassis swap

    Post by Digz Sat Aug 09, 2014 11:28 am

    That is some pretty fancy bracket fabbing ! Loving the build.
    suicideking
    suicideking


    Number of posts : 71
    Location : Mesa, AZ
    Registration date : 2013-06-13

    65' chassis swap Empty Re: 65' chassis swap

    Post 
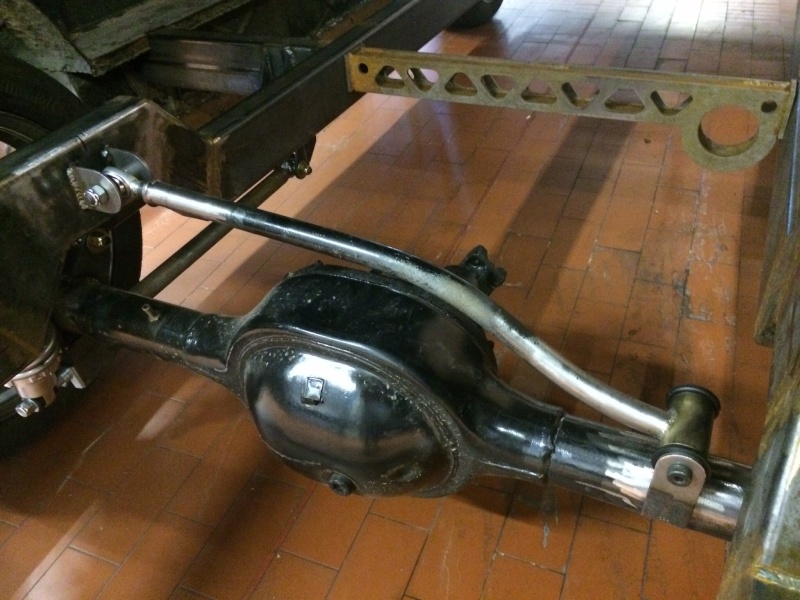
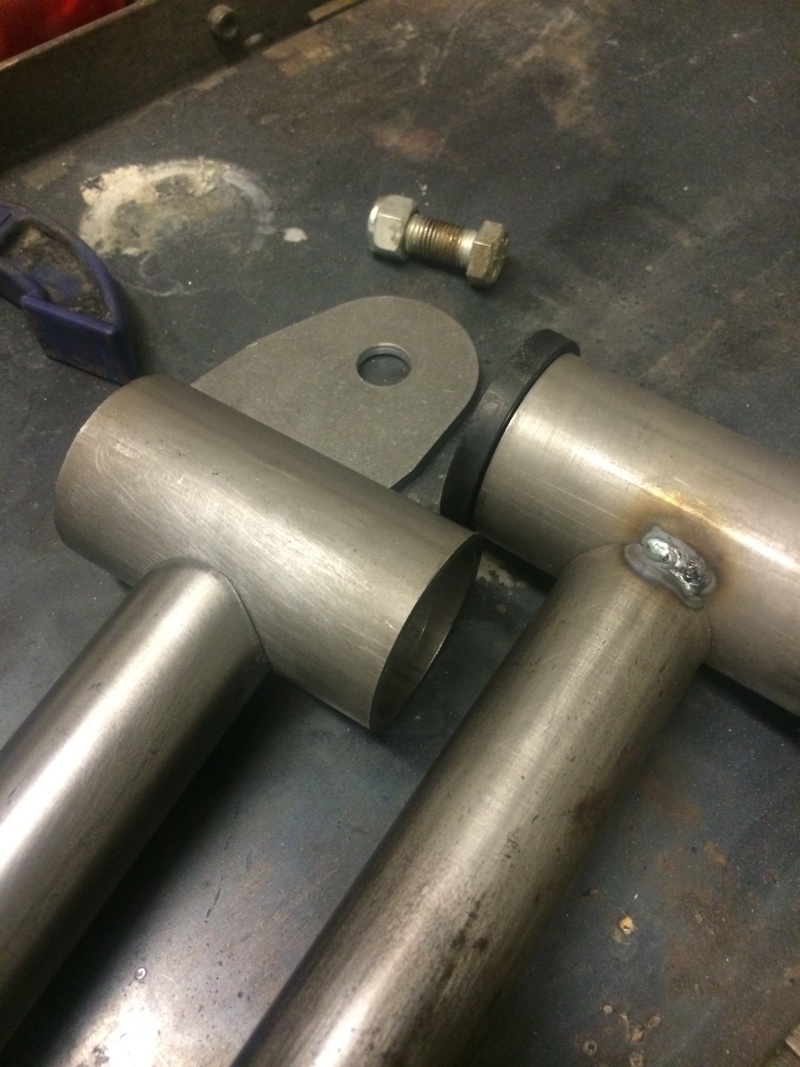
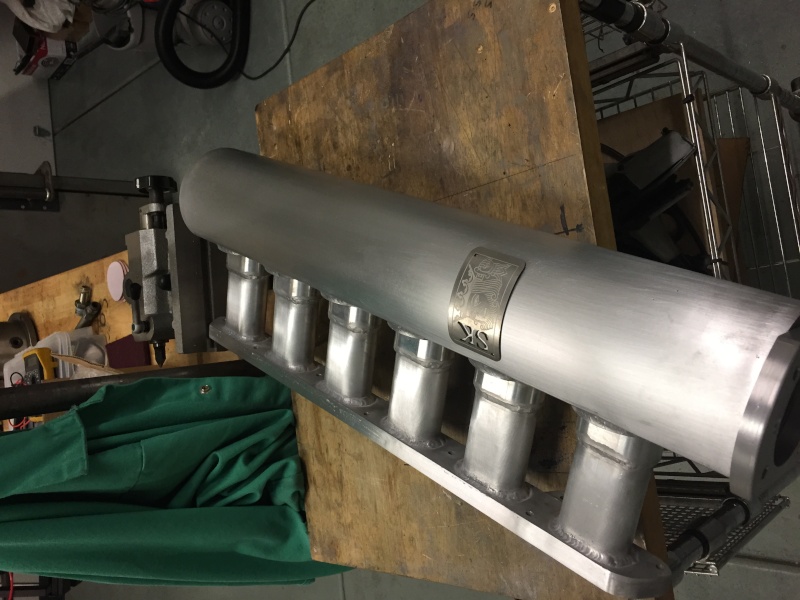
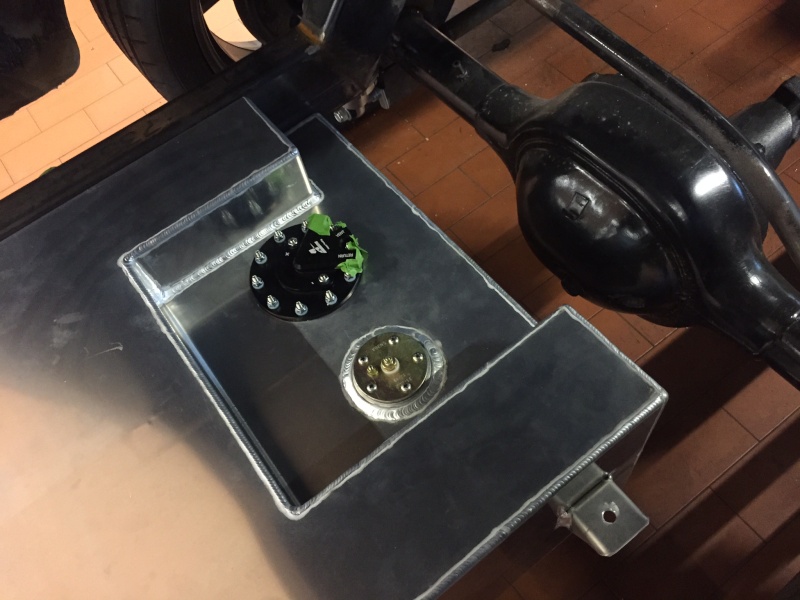
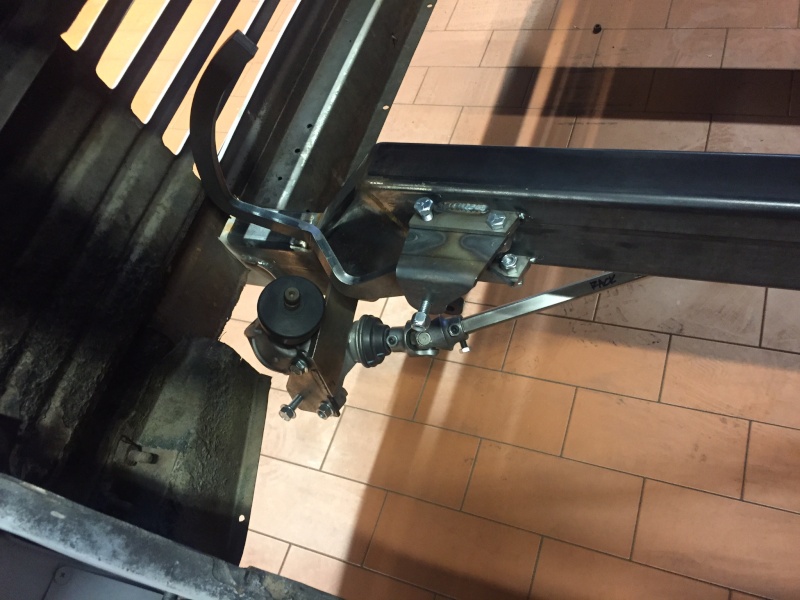
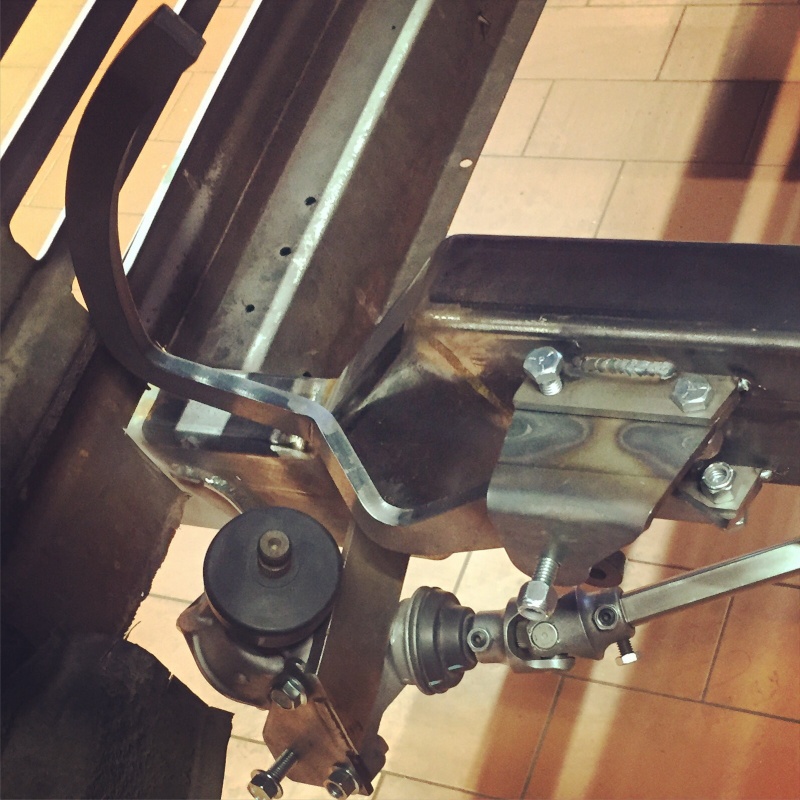
by suicideking Sat Aug 09, 2014 1:21 pm

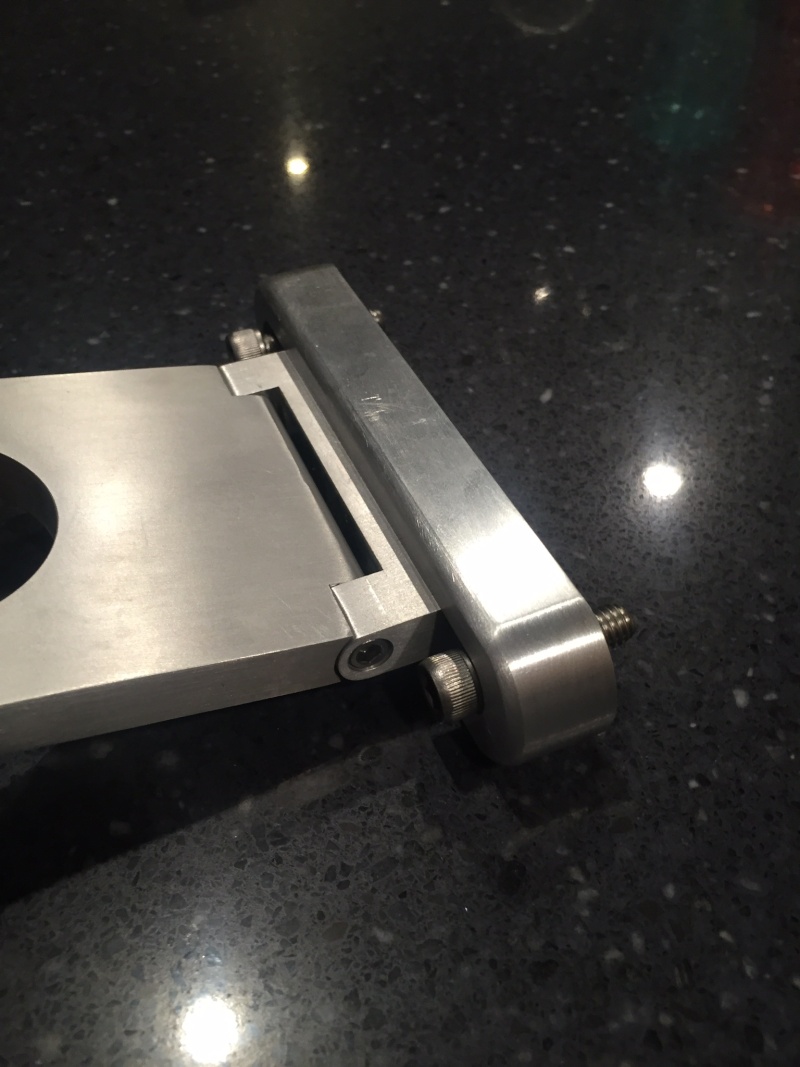
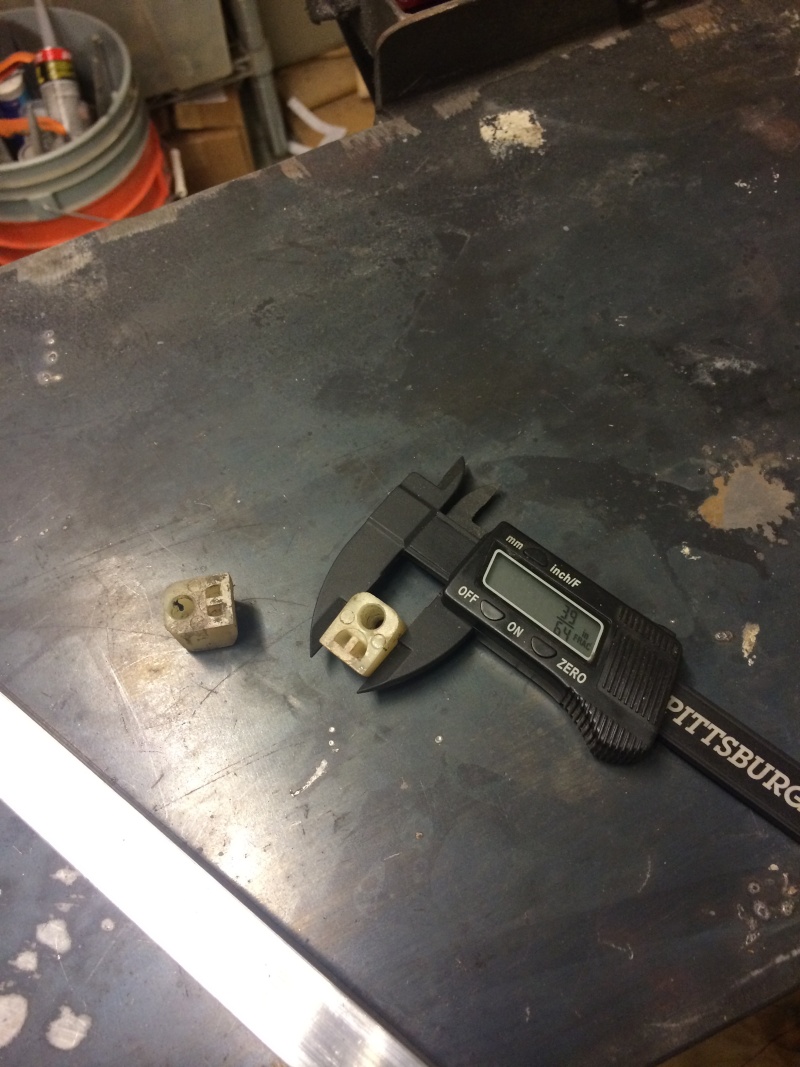
    While i am waiting for my engine mounts to be cut i thoguht i would try and tune up the door latches. The striker on the driver side was sagged and had worn through at both the latch and the striker plate. The hard plastic wedge that puts tension on the assembly inside the door striker was worn to nothing. I debated cutting a new one out of Delrin or casting one in epoxy resin, but then decided to see if i could improve the design with a tighter tolerance aluminum.
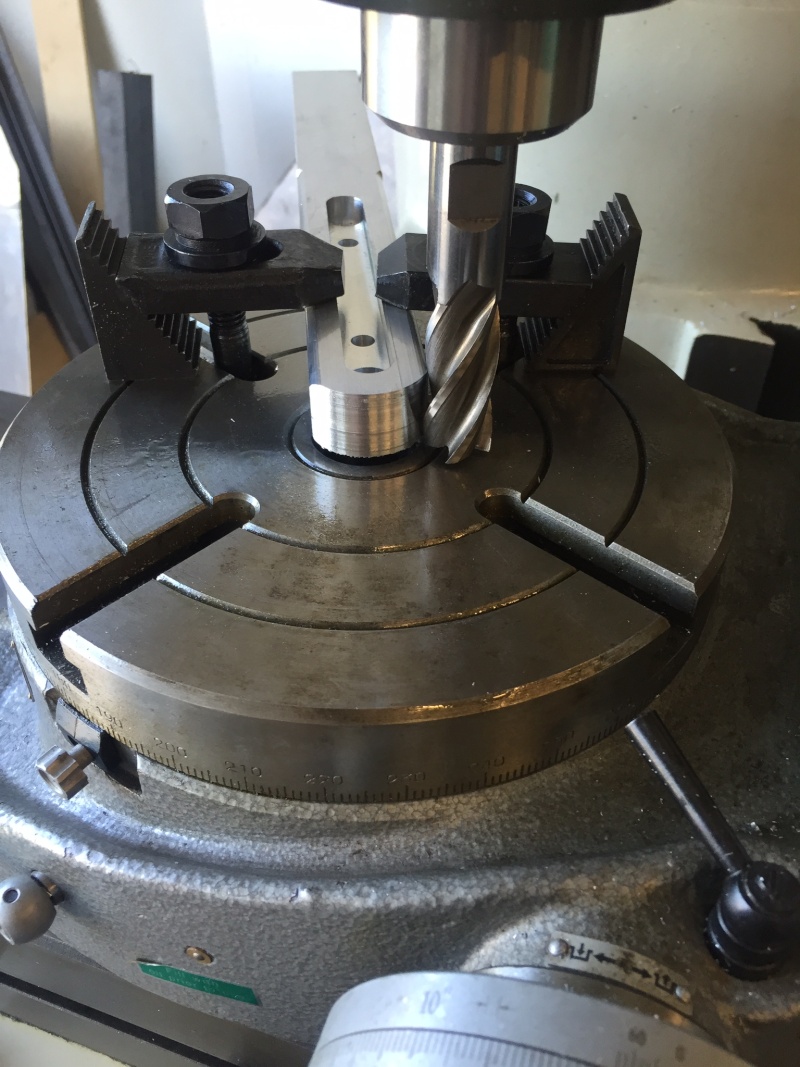
    Start with some bar stock.

    65' chassis swap Img_4519

    find the critical measurements
    65' chassis swap Img_4520

    the radius edges really arent necessary to fit or working but makes for a better looking finished piece.
    65' chassis swap Img_4521

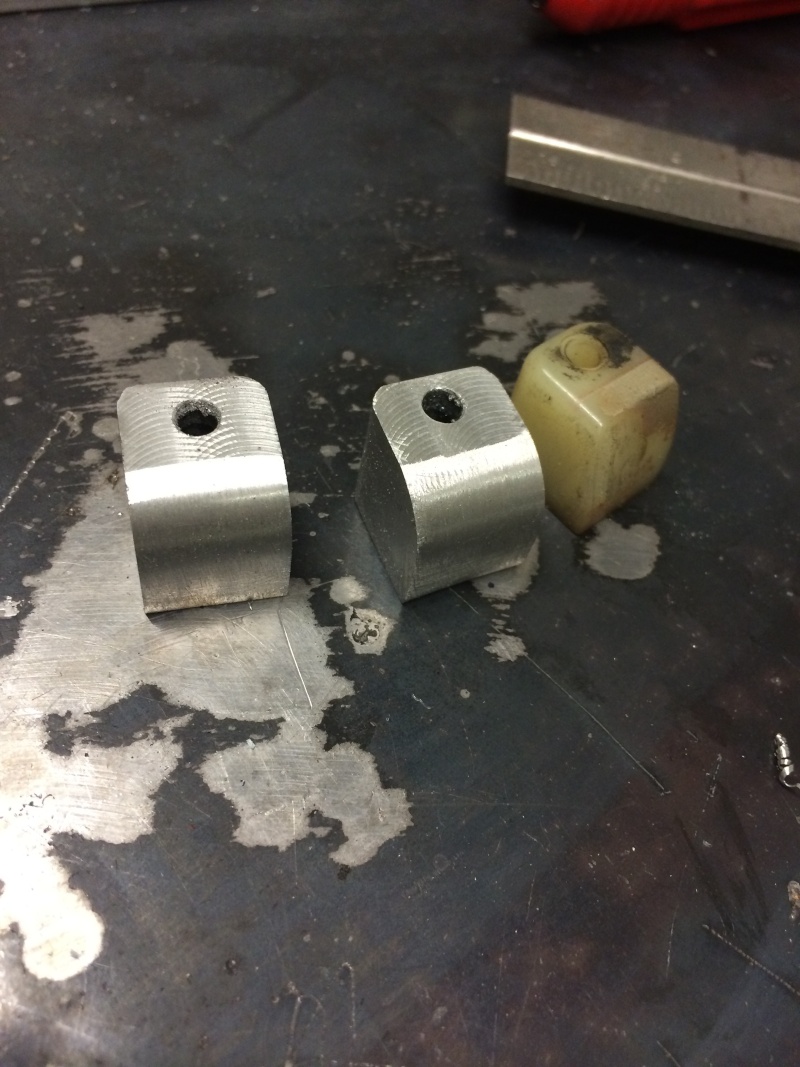
    squaring up using alot of cutting fluid and higher speeds for that finished look. once the pieces were square, i drilled and countersunk the spring setting
    65' chassis swap Img_4522

    taking shape
    65' chassis swap Img_4523

    the most difficult step; cutting the slope. My mill is manual so this was a three step process and then smoothed by hand.
    65' chassis swap Img_4526

    finshed by hand. I went a 1/64th bigger so the piece has less slop then the original, i think the hardened alum will wear better and once the door isnt sagging, it should be a nice tight fit.
    65' chassis swap Img_4525

    good thing im not getting paid by the hour, these took me two hours start to finish. Id be broke


    Last edited by suicideking on Sat Aug 09, 2014 1:22 pm; edited 1 time in total (Reason for editing : mis spell)
    millwright71
    millwright71


    Number of posts : 531
    Location : Northeastern Indiana
    Registration date : 2012-05-28

    65' chassis swap Empty Re: 65' chassis swap

    Post by millwright71 Sat Aug 09, 2014 7:47 pm

    Looks awesome! Watching this build closely for sure.
    Space Truckin
    Space Truckin


    Number of posts : 1279
    Location : Upland,Ca
    Age : 68
    Registration date : 2009-10-17

    65' chassis swap Empty Re: 65' chassis swap

    Post by Space Truckin Sat Aug 09, 2014 8:40 pm

    Superb SKILLS!!!  Cool 
    suicideking
    suicideking


    Number of posts : 71
    Location : Mesa, AZ
    Registration date : 2013-06-13

    65' chassis swap Empty Re: 65' chassis swap

    Post by suicideking Thu Aug 14, 2014 6:19 pm

    Reinstalled the bead blasted strikers and machined bumpers.
    65' chassis swap Latach10
    suicideking
    suicideking


    Number of posts : 71
    Location : Mesa, AZ
    Registration date : 2013-06-13

    65' chassis swap Empty Re: 65' chassis swap

    Post by suicideking Tue Aug 19, 2014 8:26 pm

    Laying out the motor mounts. The inline six makes a nice mounting point on either side of the narrow block (only 11" at the mount plates). I cut up some heavy wall DOM that fit the 4X4 rubber mount kits i bought. I miter cut the arms and TIG welded the two pieces together. The plate was heavy enough i could really sink in some filler along the uprights. I thought they looked too plain so i cut a sleeve and machined in a pattern. I think i will braze this sleeve on before i cut the angle that meets the rail. I want to be able to unbolt the mounts so i cut some 1/4" 4"square plates with mounting holes. I will go all the way through the rail for strength. I hope to get the whole enigine( turbo snail included) under the larger of the two doghouses that came with the van originally but i am a realist and know it will probably end up 3/4 of an inch too short in several spaces and i will have to remake the whole thing.


    65' chassis swap Img_4610
    65' chassis swap Img_4611
    65' chassis swap Img_4612
    65' chassis swap Img_4613
    suicideking
    suicideking


    Number of posts : 71
    Location : Mesa, AZ
    Registration date : 2013-06-13

    65' chassis swap Empty Re: 65' chassis swap

    Post by suicideking Tue Mar 03, 2015 6:01 am

    long time since last update, updated my thread in "between the seats "G"" as well. Life comes at you fast some days (or months or even years) I have put some time into the project in the last few months. took a welding cert class at the college and made an intake for my final project. got the new engine hung, worked out the steering box, made a fuel cell, and figured out how the brakes are going to fit.( a remote booster behind the drivers seat about 4' long actuating rod). Hoping to get a floor bead rolled and installed this summer. I am considering making the exhaust headers myself due to lack of any real aftermarket options. the engine I ended up with just isn't a popular hot rod piece so nobody really supports it with any aftermarket add-ons. I ended up having to machine the intake flange myself and that really tested my machine and 8th grade math skills. This van/rod has become my lifes work and my mid-life crisis all rolled into one. enjoy;

    65' chassis swap Img_4713
    65' chassis swap 01a45c10
    65' chassis swap 01f1cd10
    65' chassis swap 013b5a10
    65' chassis swap 019e8910
    65' chassis swap 0168a510
    homebrew
    homebrew


    Number of posts : 70
    Location : oHIo
    Registration date : 2013-04-02

    65' chassis swap Empty Re: 65' chassis swap

    Post by homebrew Tue Mar 03, 2015 6:32 am

    WooooooooW its gorgeous!
    suicideking
    suicideking


    Number of posts : 71
    Location : Mesa, AZ
    Registration date : 2013-06-13

    65' chassis swap Empty Re: 65' chassis swap

    Post by suicideking Sun Apr 05, 2015 8:06 pm

    65' chassis swap 015cf810
    65' chassis swap 019af810

    had some time this week and installed the IDIDIT steering column. Matched up nicely to the steering gear box and sat at the correct length and orientation. I wasnt as pleased with the aestetics of the drop itself and set about making a "stronger" looking sub mount for the under dash.


    Started with a nominal sized billet aluminum block and drilled out the pockets to mount this piece to the current dash mounting points (4.25" on center if anyone is interested). I cut a .50" trench that accomodated the IDIDIT drop itself and centered it between the mounting points. Radiused the ends and edges for a finished look.

    65' chassis swap 01e67810

    65' chassis swap 01339a10

    the drop fits nicely

    65' chassis swap 01626f11
    suicideking
    suicideking


    Number of posts : 71
    Location : Mesa, AZ
    Registration date : 2013-06-13

    65' chassis swap Empty Re: 65' chassis swap

    Post by suicideking Sun Apr 05, 2015 8:10 pm

    65' chassis swap 01ab6611

    65' chassis swap 01acbf11

    happy with the fit and finish. Plan on mounting it up tomorrow after work.
    Big W
    Big W


    Number of posts : 3282
    Location : Saskatoon,Sask,Canada
    Age : 60
    Registration date : 2011-01-13

    65' chassis swap Empty Re: 65' chassis swap

    Post by Big W Sun Apr 05, 2015 8:18 pm

    Nicely done. I like that look a whole lot better as well. cheers
    suicideking
    suicideking


    Number of posts : 71
    Location : Mesa, AZ
    Registration date : 2013-06-13

    65' chassis swap Empty Re: 65' chassis swap

    Post by suicideking Tue Apr 07, 2015 8:36 pm

    the after shot; much better IMO. The angle improved just by moving it down that 3/4" and it looks "tougher" now i just need to patch the two errant holes in the under-dash. man i hate drilling or cutting into that old steel. especially when it turns out to be unnecessary

    65' chassis swap 01034d10

    bought all the brake lines and most of the fittings. decided on stainless lines and fittings as they wont get any paint. borrowed a nice flair tool and watched some YOUTUBE so i am basically an expert now. Smile should be a piece of cake!
    Big W
    Big W


    Number of posts : 3282
    Location : Saskatoon,Sask,Canada
    Age : 60
    Registration date : 2011-01-13

    65' chassis swap Empty Re: 65' chassis swap

    Post by Big W Tue Apr 07, 2015 9:32 pm

    Brake lines are a snap. Once you do a few practice flares on an old piece of brake line to perfect the double flare, it will be done before you know it. I did find that stainless was a bit tougher to flare without cracking. But practice a patience prevailed and they turned out great.
    66e100pu
    66e100pu


    Number of posts : 199
    Location : So-Cal
    Registration date : 2011-04-02

    65' chassis swap Empty Re: 65' chassis swap

    Post by 66e100pu Wed Apr 08, 2015 10:35 am

    I have to mount an Isuzu box in a similar manner, but I haven't been able to locate the right spline to DD u-joints.  Do you remember where you found them; part #, spline count, or anything else that might help me locate a set?  Appreciate the help!
    Jim
    suicideking
    suicideking


    Number of posts : 71
    Location : Mesa, AZ
    Registration date : 2013-06-13

    65' chassis swap Empty Re: 65' chassis swap

    Post by suicideking Wed Apr 08, 2015 11:15 am

    66e100pu wrote:I have to mount an Isuzu box in a similar manner, but I haven't been able to locate the right spline to DD u-joints.  Do you remember where you found them; part #, spline count, or anything else that might help me locate a set?  Appreciate the help!
    Jim

    The spline is specific to a Chrysler application. The ones I have were made by borgeson but sold through SO-CAL speed shop. I took my box in and stabbed it in the display until I found the right ones. Sorry I don't have a part number for you.

    Sponsored content


    65' chassis swap Empty Re: 65' chassis swap

    Post by Sponsored content


      Current date/time is Sun Apr 28, 2024 7:31 am