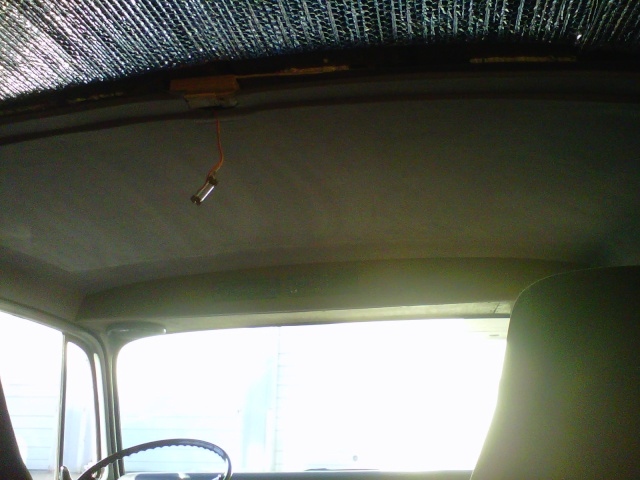
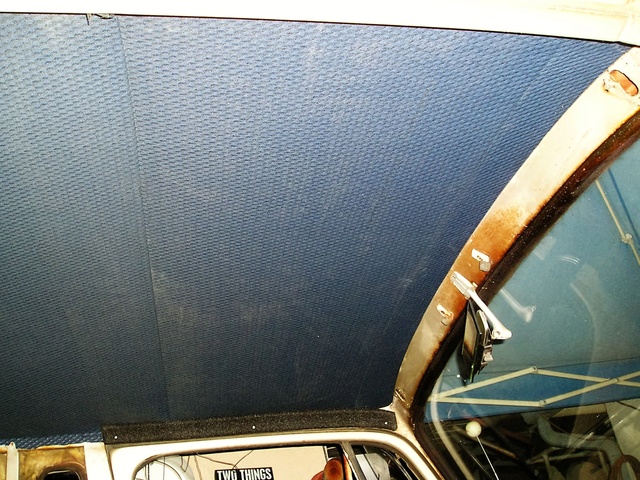
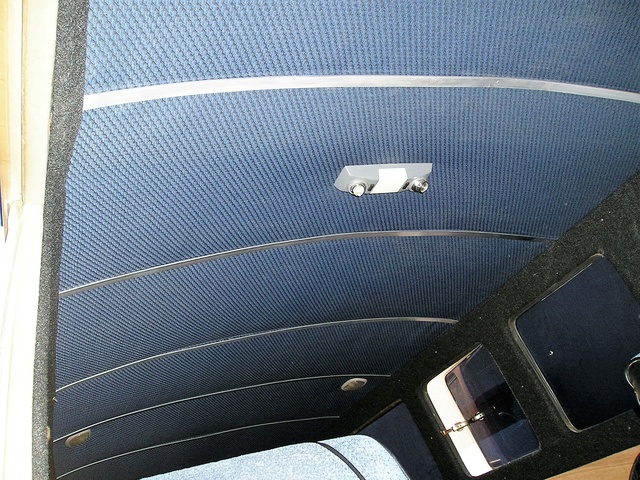
Guys, I'm still a couple months from installing a headliner in my van, but I mocked one up on my workbench. We did hundreds of these headliners back in the day, they make for a very clean look. ~h~
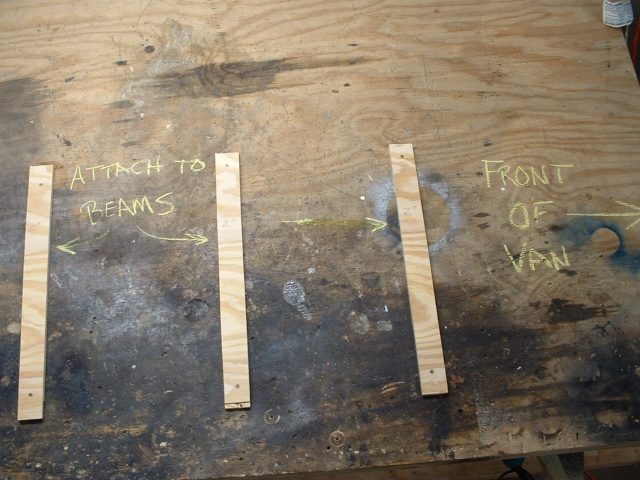
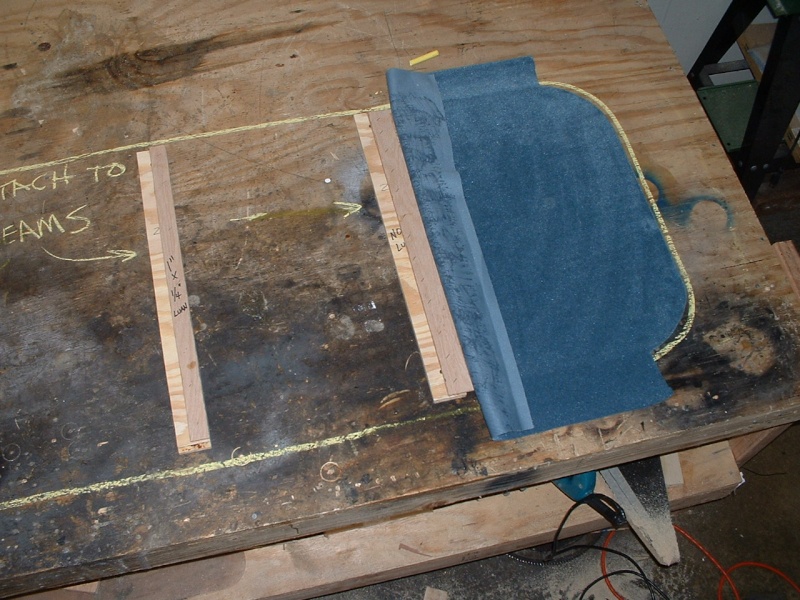
First step: Cut 2" wide strips of 1/4" luan or double up on some 1/8", or you can use other flexable plywood. Attach these strips to the ceiling beams (wall to wall).
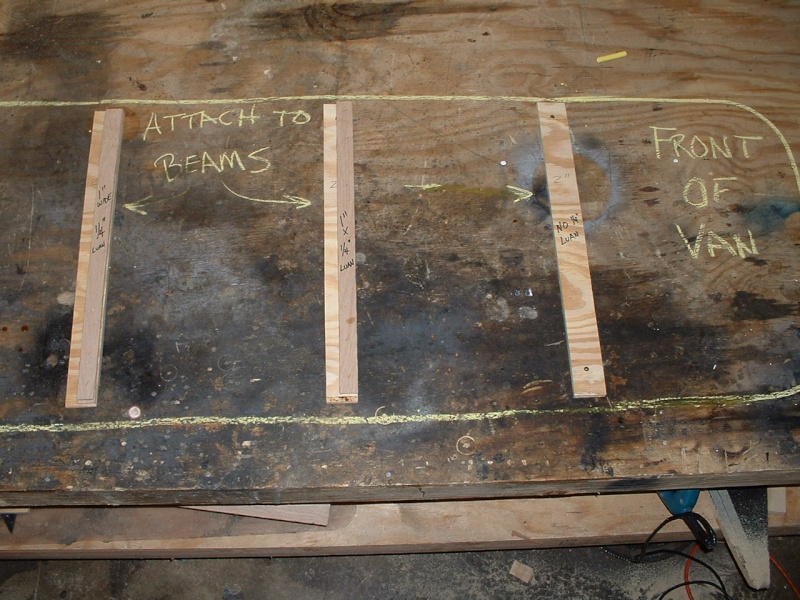
Step 2: Cut 1" strips of 1/4" luan (or other plywood) and attach these along the front side of all the 2" strips (except the front beam above the driver seat).
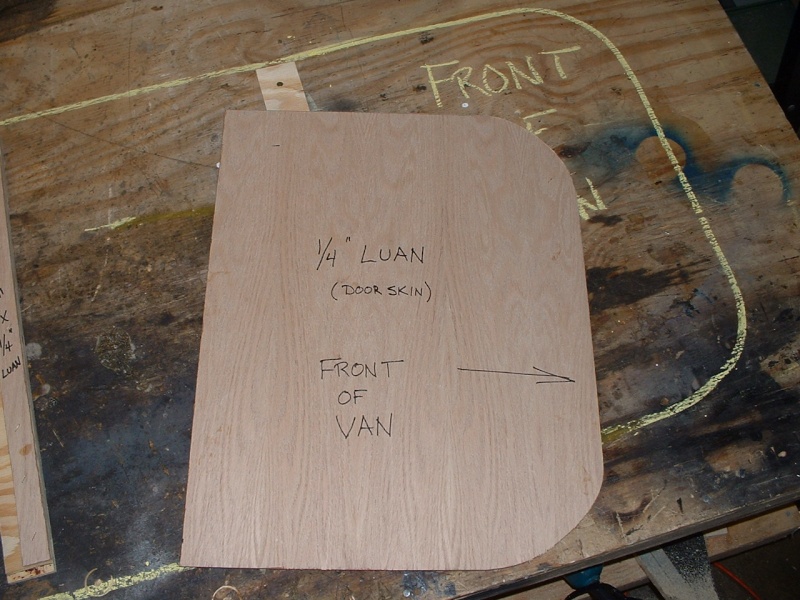
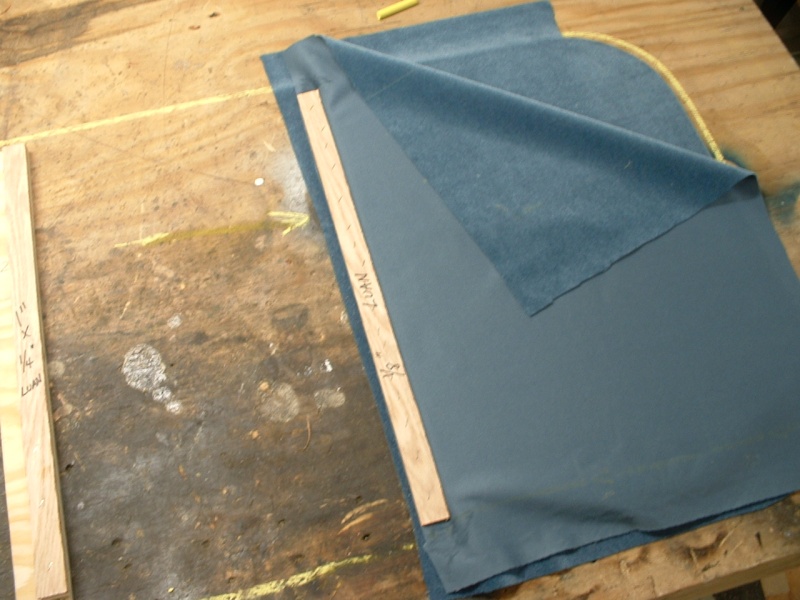
Step 3: Cut a piece of 1/4" luan (or plywood) to fit exactly above/in the cab area. The back edge of this piece should end up right in the middle of the 2" strip that has been attached to the first beam. This piece should be at least 1/4" thick to allow for overhead consoles and lights etc to mount up to.
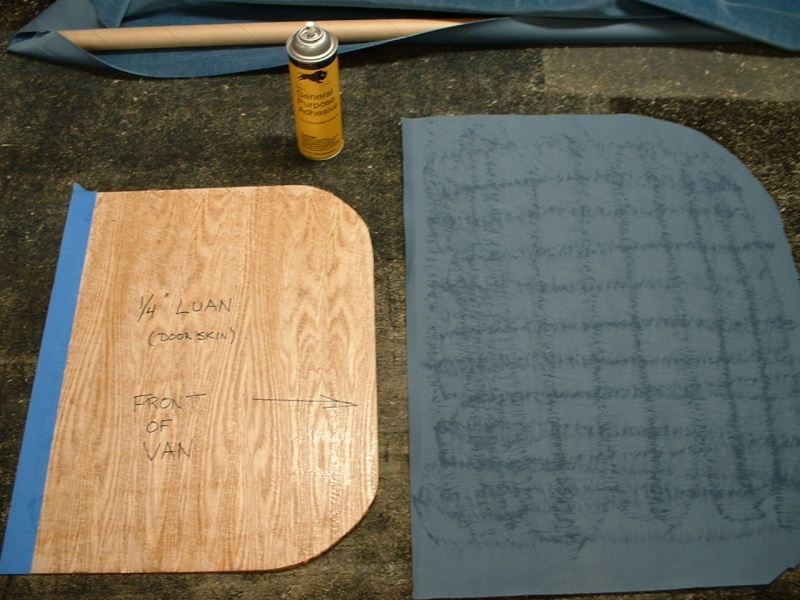
Step 4: Place a piece of masking tape along the back edge to keep glue free. Cut enough material to allow for 3" to 4" overage on all sides. Apply glue to the panel and material. Remove the tape, and place material onto the panel.
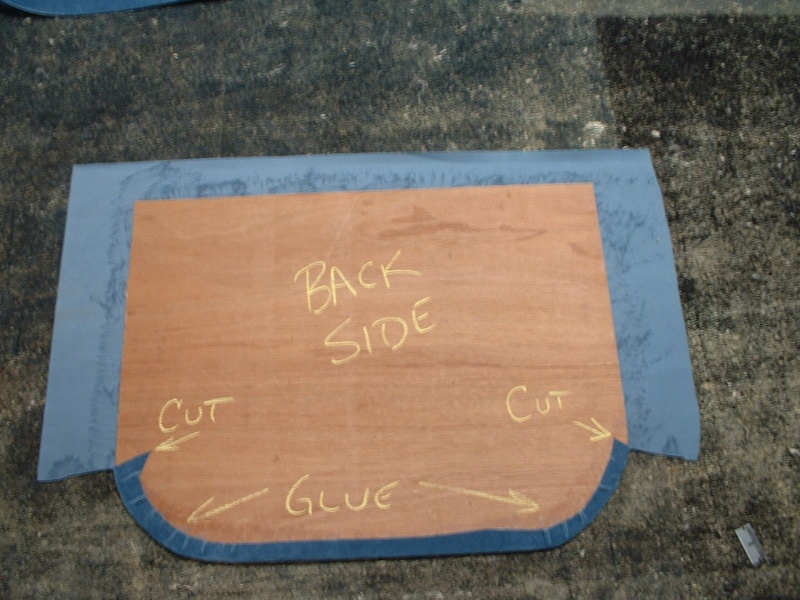
Step 5: Make one cut where noted on each side of the panel. Wrap the material around the front edge only. Leave the material on the sides and on the back hang off.
Step 6: Install this panel at the front of the cab with small screws, and at the first beam with staples or screws. The rear edge of the panel (at the first beam) should have 1" where material has not been glued. This where the panel is attached to the beam.
Step 7: Apply a light amount of glue to the 2" strip and fold the material over along the edge of the panel, making sure of a nice tight edge.
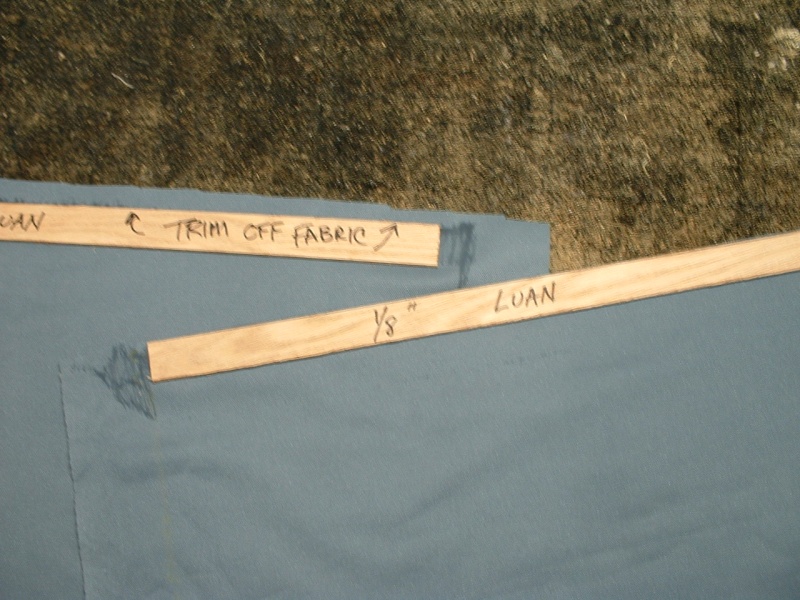
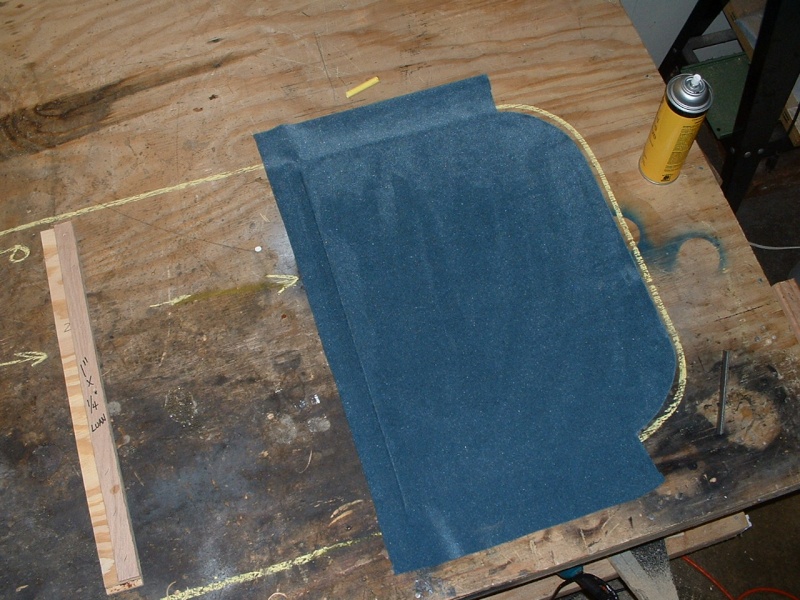
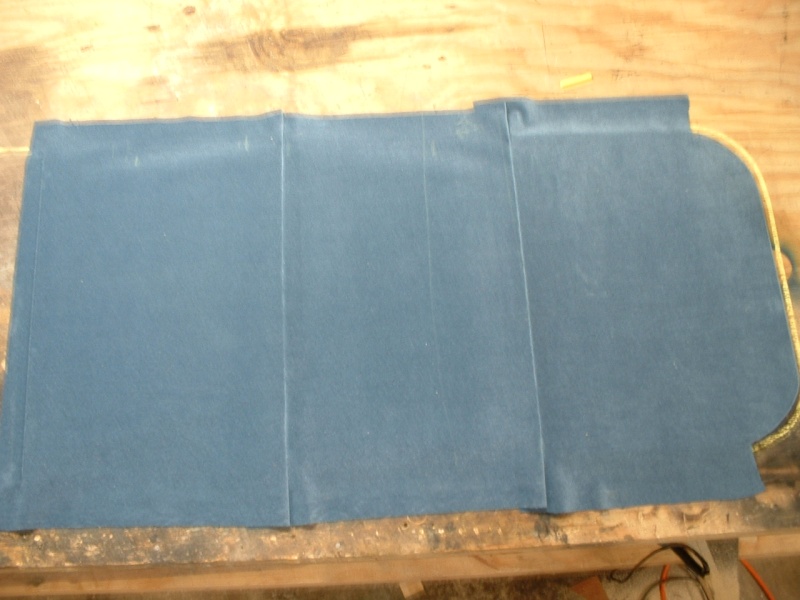
Step 8: Cut another piece of material large enough to allow 4" to hang down on each side of the van walls, and 4" longer than the beam to beam measurement. Glue a strip of 1/8" in luan or paneling to the back side of the material along the front edge making sure the "grain" (if any) is going the same way as the front panel.
Step 9: Place this material along the edge of the front panel with the wood strip tight against the edge. Staple to the beam.
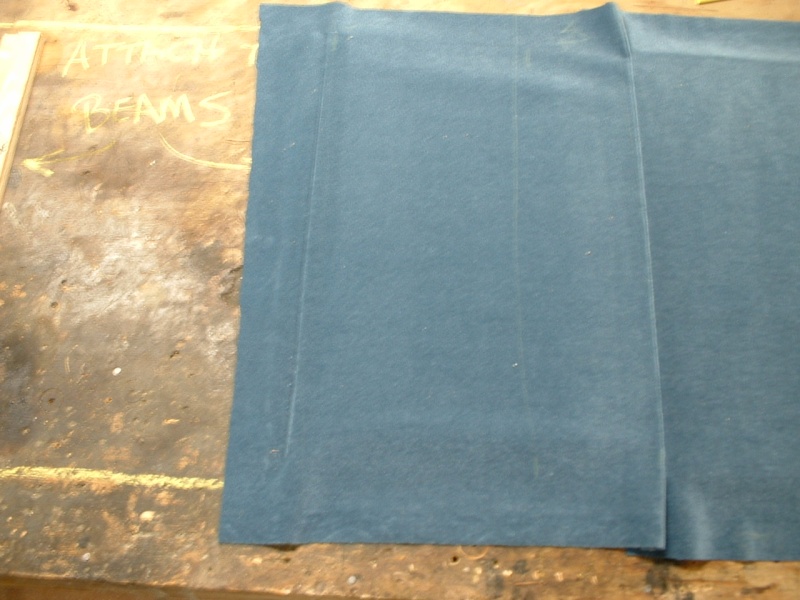
Step 10: Apply glue to the next beam back and bring the material to that beam. Press the material along the edge of the 1/4" strip making sure it is nice and tight along the edge.
Repeat steps 8, 9 and 10 as necessary (depending on how many beams you have). When you get to the rear above the door(s), pull tight and glue to the metal or use a tack strip ( 1 x 1/8" strip luan) to hold the fabric in place. This is also done along the sides of the van. The interior walls will hide the tack strip, another custom fit and wrapped trim piece(s) will cover the tack over the rear doors and the other doors as well.
First step: Cut 2" wide strips of 1/4" luan or double up on some 1/8", or you can use other flexable plywood. Attach these strips to the ceiling beams (wall to wall).
Step 2: Cut 1" strips of 1/4" luan (or other plywood) and attach these along the front side of all the 2" strips (except the front beam above the driver seat).
Step 3: Cut a piece of 1/4" luan (or plywood) to fit exactly above/in the cab area. The back edge of this piece should end up right in the middle of the 2" strip that has been attached to the first beam. This piece should be at least 1/4" thick to allow for overhead consoles and lights etc to mount up to.
Step 4: Place a piece of masking tape along the back edge to keep glue free. Cut enough material to allow for 3" to 4" overage on all sides. Apply glue to the panel and material. Remove the tape, and place material onto the panel.
Step 5: Make one cut where noted on each side of the panel. Wrap the material around the front edge only. Leave the material on the sides and on the back hang off.
Step 6: Install this panel at the front of the cab with small screws, and at the first beam with staples or screws. The rear edge of the panel (at the first beam) should have 1" where material has not been glued. This where the panel is attached to the beam.
Step 7: Apply a light amount of glue to the 2" strip and fold the material over along the edge of the panel, making sure of a nice tight edge.
Step 8: Cut another piece of material large enough to allow 4" to hang down on each side of the van walls, and 4" longer than the beam to beam measurement. Glue a strip of 1/8" in luan or paneling to the back side of the material along the front edge making sure the "grain" (if any) is going the same way as the front panel.
Step 9: Place this material along the edge of the front panel with the wood strip tight against the edge. Staple to the beam.
Step 10: Apply glue to the next beam back and bring the material to that beam. Press the material along the edge of the 1/4" strip making sure it is nice and tight along the edge.
Repeat steps 8, 9 and 10 as necessary (depending on how many beams you have). When you get to the rear above the door(s), pull tight and glue to the metal or use a tack strip ( 1 x 1/8" strip luan) to hold the fabric in place. This is also done along the sides of the van. The interior walls will hide the tack strip, another custom fit and wrapped trim piece(s) will cover the tack over the rear doors and the other doors as well.