by whopman Tue Jul 20, 2010 5:49 pm
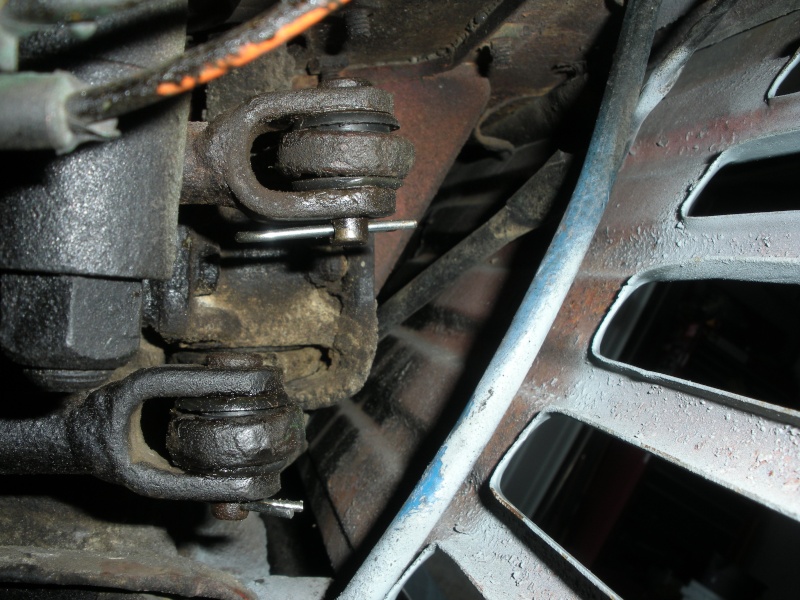
OK ,couldn't take the sloppy shifter anymore...took the front shifter pins out to find out there was nothing left of the original bushings except the metal shells. you can see the remains in the pictures
you can find the originals online at some of the classic truck websites but they are the same rubber stuff as the originals and figured they would last a month or so....I discovered Lowes hardware aisle some years ago..they have grade 8 bolts, stainless bolts, brass bushings, pins, etc...about 32 feet of specialty drawers filled with ideas!!!!
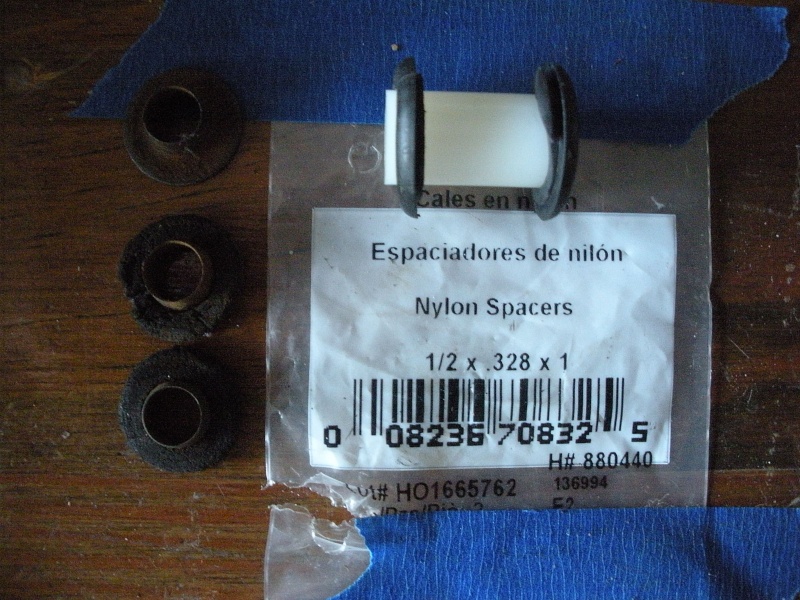
The following pictures show the items I used to repair the front shifter rod bushings.
1 pack of 1/2"(outside dia. same size a shifter hole) x .328 (inside dia. hole . the size of the shifter pin) x 1"( length)
2 rubber grommets with 1/2" inside dia. hole.
2 pin clips or cotter pins.
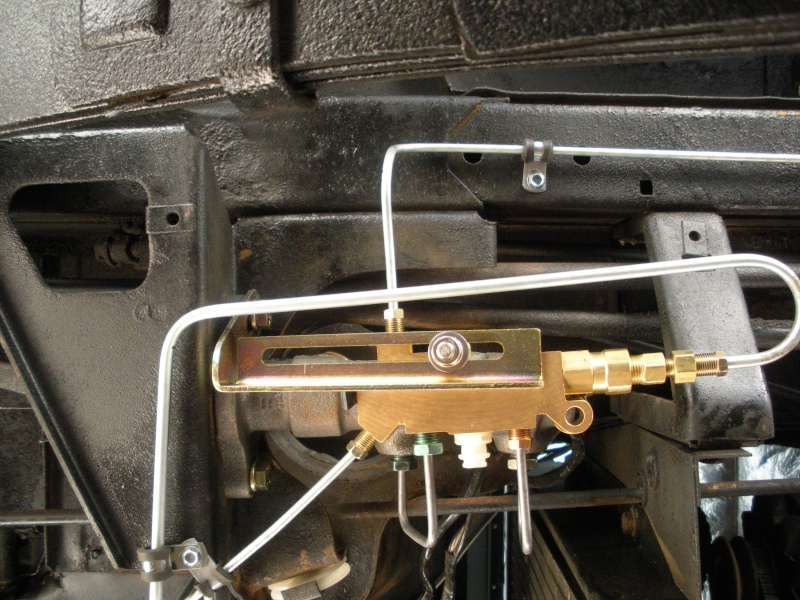
Started out cutting the nylon bushing down in length to fit into the rod end...this worked out well but left a little slop between the to parts once the pin was installed. I took the 1/2 grommet and split it in half putting one half on each end of the bushing to fill the gap and act as a centering part. reinstalled and no slop..Had less the 5 bucks in parts...