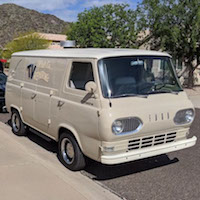
So I thought I would start showing some details from the rebuild of the door and although not completely done I will add more steps in the next week.
Thanks to Tim Brogan, I got my kit from him and he provided some follow up guidance that was helpful, I hope this helps anybody else attempting the project!
First off, have to say this was a PITA project, I'm surprised how much time I have invested from removing all the old seals, to rebuilding the division bar and struggling to get the damn rear run channel installed, that said, one door is almost done and I'm sure the second will go much easier.
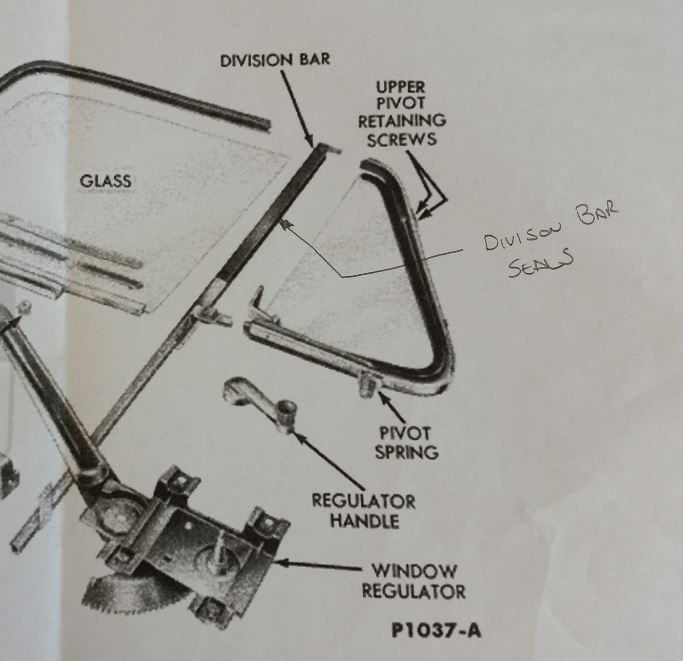
So first item is this chart is very helpful to get description of parts clear.

First step was seal removal, did that last winter in the basement, stunk up the house a couple of times but after some trials I found the best way to remove was with heat gun to get the seal warm then using a very thin putty knife, actually it was something that came from an art class to scrape the adhesive off, then wax and grease remover for the adhesive.
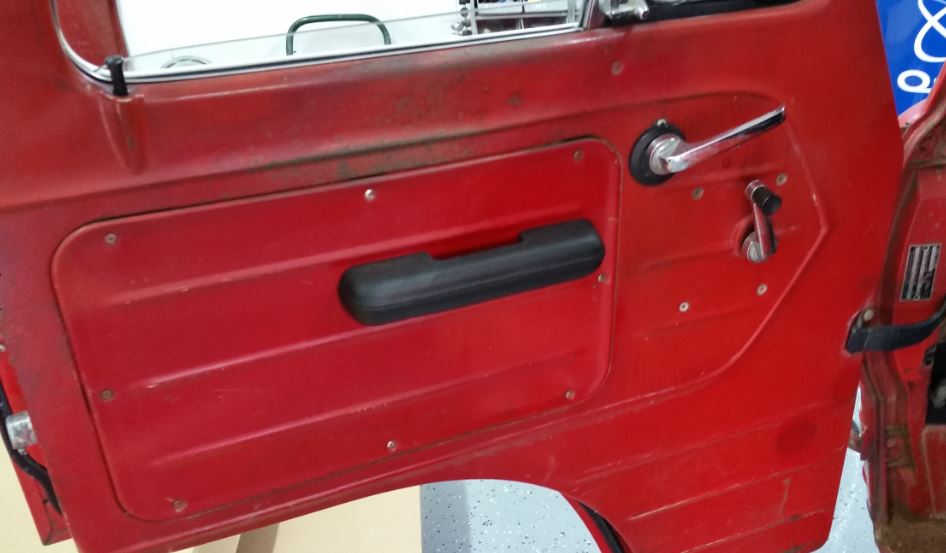
Once I got that removed some touch up to paint and treated any rust.

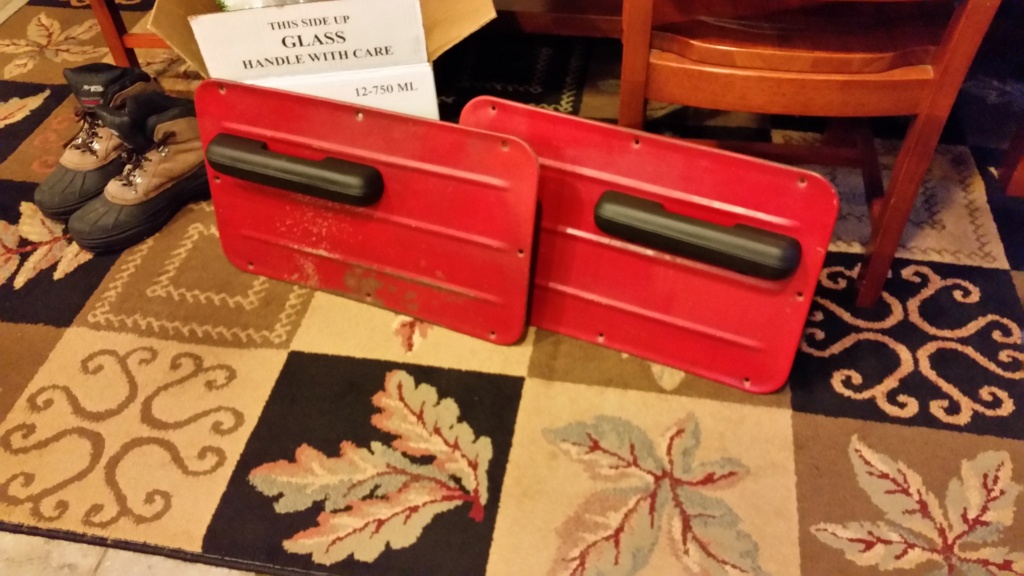
So the disassemble reassemble is somewhat straight forward, only issue during reassemble was getting glass installed, you pretty much have to loosely install everything in the door then start attaching.
So the key takeaways that I wanted to share are with the parts, some quality/fit items that slowed down the project.
1) vent seal, good fit but on the inside forward edge there is a small lip that the vent window would catch and fold over, made the closing effort very high, I simply used an exacto knive and cut off, much easier to close.

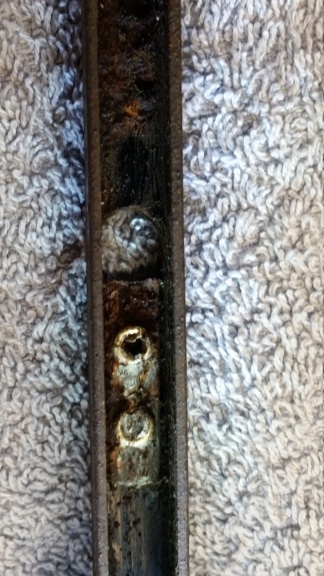
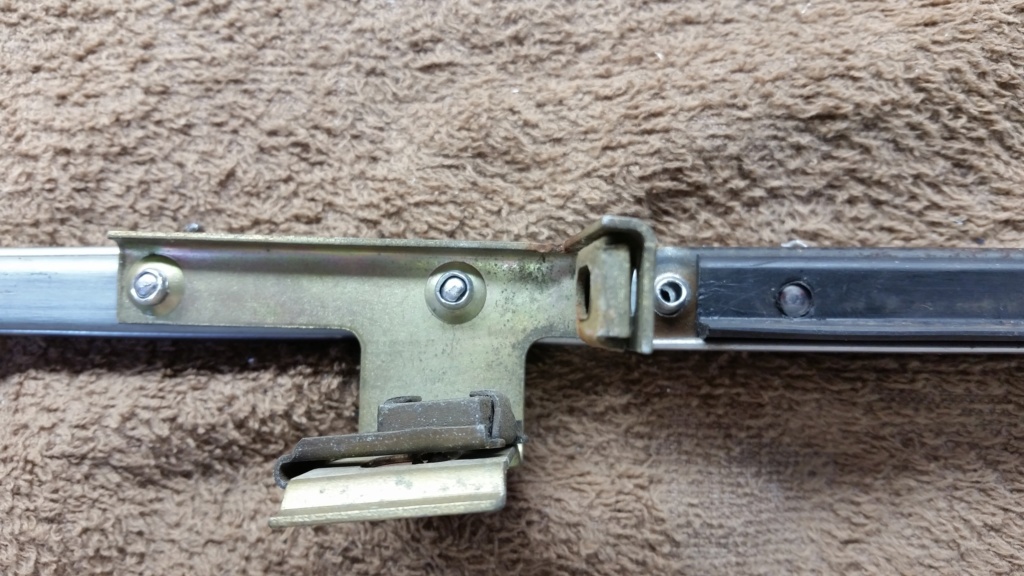
2) division bar, first thing, whoever drilled the holes was using a very dull bit, every hole had major burrs that had to be filed/ground down to fit.
The kit comes with old fashion rivets, had never used these before but the little ones for the rubber division bar seal went on ok, I didn't feel confident that the larger ones for the brackets would work so I simply used 5/32 and 3/16 x 3/16 rivets.
What I did was cut away small areas of the felt inside the channel so the rivets would contact metal, on the back side nothing interfered.

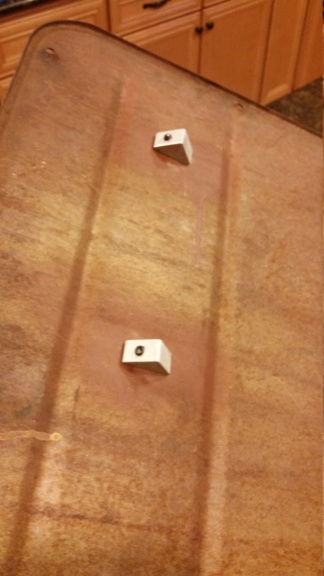
3) rear run channel, yea the biggest challenge. So after working with this for an hour to get the curve right the first 2 clips on the top of the window fit fine, the second two clips along the back of the window were off by 1/2".
I measured this thing several times, compared to the old part but the conclusion was to get the two clips at the rear installed the channel would have to be forced up in the corner with a smaller radii.
So I just opened up the slot and got them installed. The last two (inside the door) were also off but I removed them and the tight fit of the rear run channel bracket holds it in place, also had to trim off about 1/2 of the channel since it was hitting the bottom of the door.
For second door I'm going to make a template of the curve of the door, offset by the channel depth and use that to help bend, I dont know if that will make any difference to the clip locations but should make the bend a little smoother than hand bending.
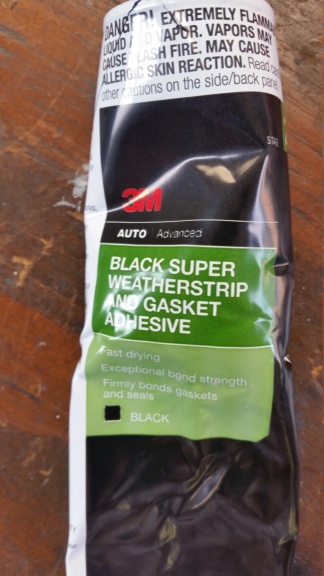
Final step is seal install, going to tackle that today, will report!
Thanks to Tim Brogan, I got my kit from him and he provided some follow up guidance that was helpful, I hope this helps anybody else attempting the project!
First off, have to say this was a PITA project, I'm surprised how much time I have invested from removing all the old seals, to rebuilding the division bar and struggling to get the damn rear run channel installed, that said, one door is almost done and I'm sure the second will go much easier.
So first item is this chart is very helpful to get description of parts clear.
First step was seal removal, did that last winter in the basement, stunk up the house a couple of times but after some trials I found the best way to remove was with heat gun to get the seal warm then using a very thin putty knife, actually it was something that came from an art class to scrape the adhesive off, then wax and grease remover for the adhesive.
Once I got that removed some touch up to paint and treated any rust.
So the disassemble reassemble is somewhat straight forward, only issue during reassemble was getting glass installed, you pretty much have to loosely install everything in the door then start attaching.
So the key takeaways that I wanted to share are with the parts, some quality/fit items that slowed down the project.
1) vent seal, good fit but on the inside forward edge there is a small lip that the vent window would catch and fold over, made the closing effort very high, I simply used an exacto knive and cut off, much easier to close.

2) division bar, first thing, whoever drilled the holes was using a very dull bit, every hole had major burrs that had to be filed/ground down to fit.
The kit comes with old fashion rivets, had never used these before but the little ones for the rubber division bar seal went on ok, I didn't feel confident that the larger ones for the brackets would work so I simply used 5/32 and 3/16 x 3/16 rivets.
What I did was cut away small areas of the felt inside the channel so the rivets would contact metal, on the back side nothing interfered.
3) rear run channel, yea the biggest challenge. So after working with this for an hour to get the curve right the first 2 clips on the top of the window fit fine, the second two clips along the back of the window were off by 1/2".
I measured this thing several times, compared to the old part but the conclusion was to get the two clips at the rear installed the channel would have to be forced up in the corner with a smaller radii.
So I just opened up the slot and got them installed. The last two (inside the door) were also off but I removed them and the tight fit of the rear run channel bracket holds it in place, also had to trim off about 1/2 of the channel since it was hitting the bottom of the door.
For second door I'm going to make a template of the curve of the door, offset by the channel depth and use that to help bend, I dont know if that will make any difference to the clip locations but should make the bend a little smoother than hand bending.
Final step is seal install, going to tackle that today, will report!
Last edited by Marq on Tue Aug 28, 2018 1:47 am; edited 1 time in total