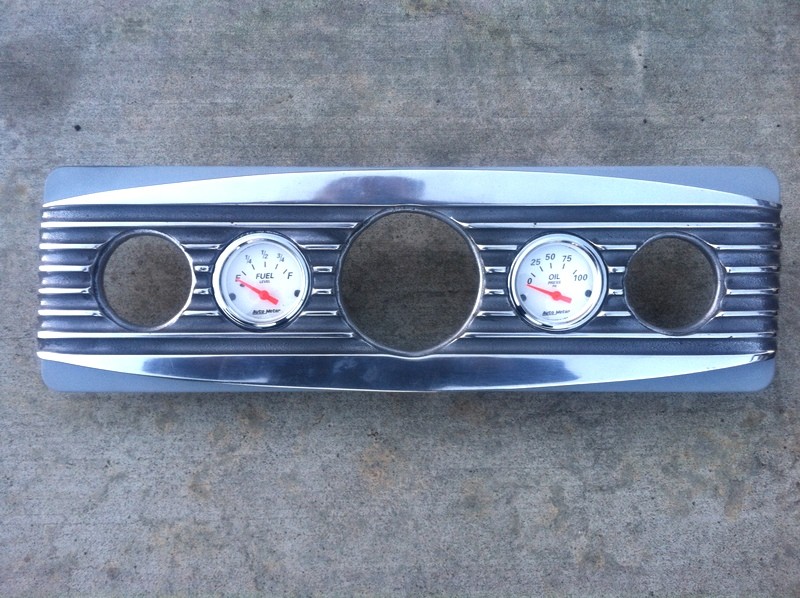
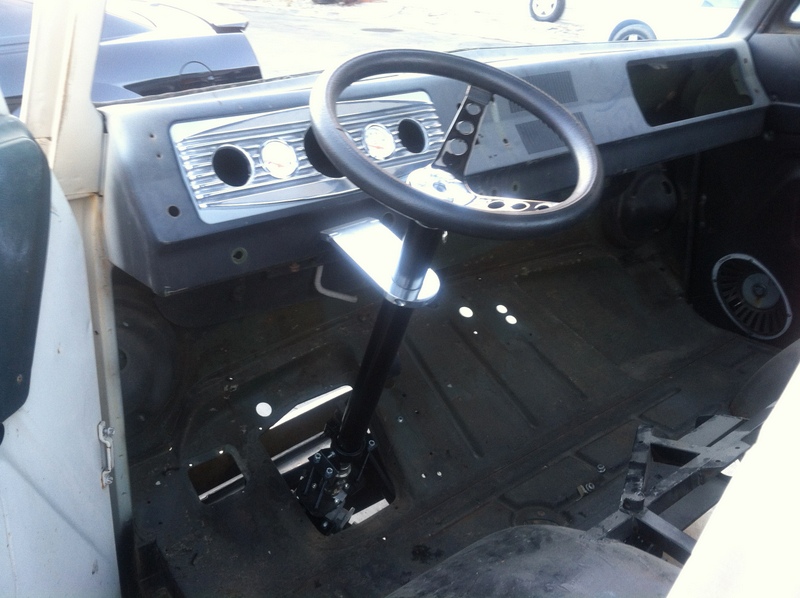
Easy way to get “the look.” This dash panel happens to be the exact dimensions required for the A-100 insert.
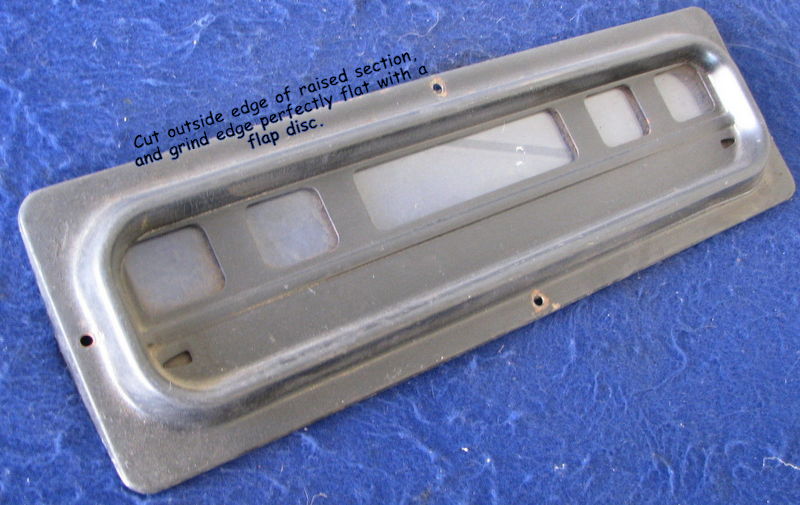
Cut out the raised section of the stock gauge bezel. Use as a pattern to mark rear of finned panel for 2 quarter inch threaded rods. Drill (not too far!!) and tap holes – Use 2 rubber well nuts to retain assembly in dash. Use 4 sheet metal screws and fender washers to secure the four corners (panel is tapered, so you can’t use the 2 stock outer holes. In less than 30 minutes, sit back and enjoy your new dash!
Here is where to get the panel: http://www.ebay.com/itm/Polished-finned-dash-Gauge-insert-hot-rat-rod-vintage-traditional-1932-sand-cast-/281200732169?pt=Vintage_Car_Truck_Parts_Accessories&hash=item4178dea809&vxp=mtr


