
Don, Is there an "R value" on the Elasto-Kool? Just wondering how much it reduces heat.
Thanks,
Jim
Thanks,
Jim


jrdunn96 wrote:Don, Is there an "R value" on the Elasto-Kool? Just wondering how much it reduces heat.
Thanks,
Jim
jrdunn96 likes this post


vanny likes this post


savage likes this post


gmytych likes this post


savage, gmytych and vanny like this post
gmytych likes this post

savage likes this post


savage likes this post


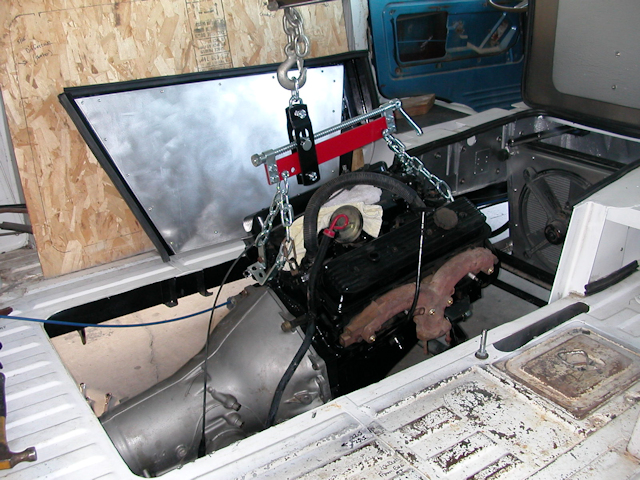
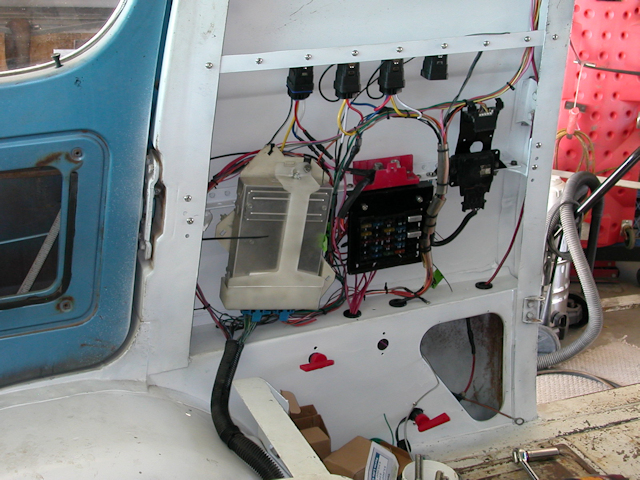
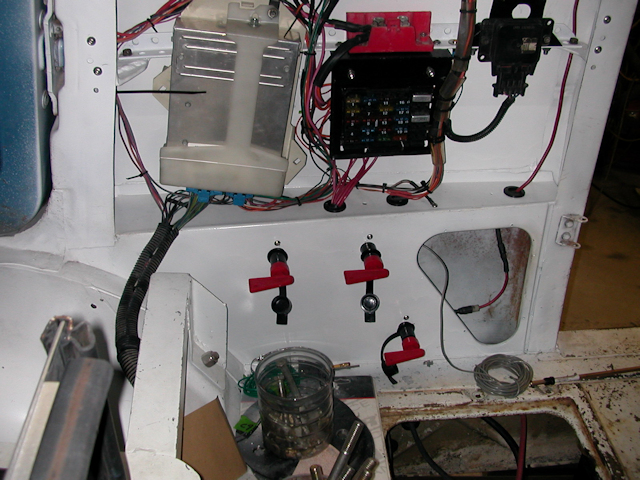
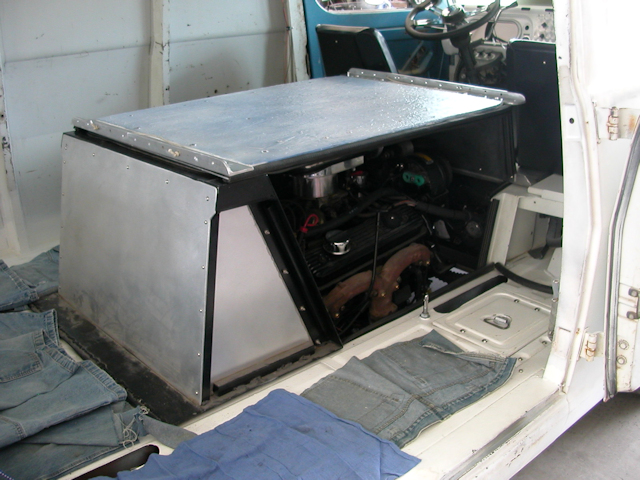
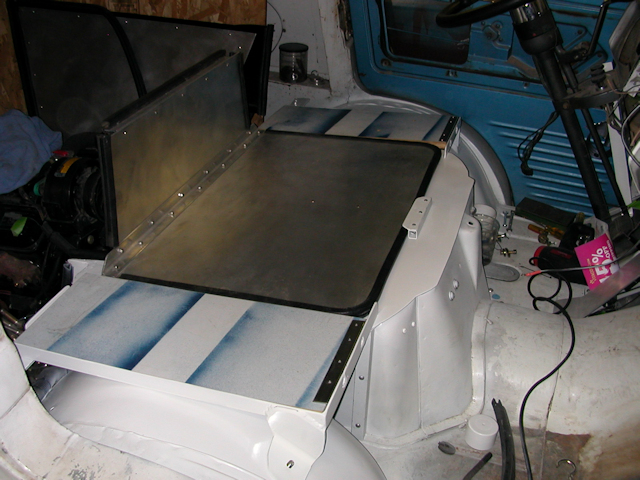
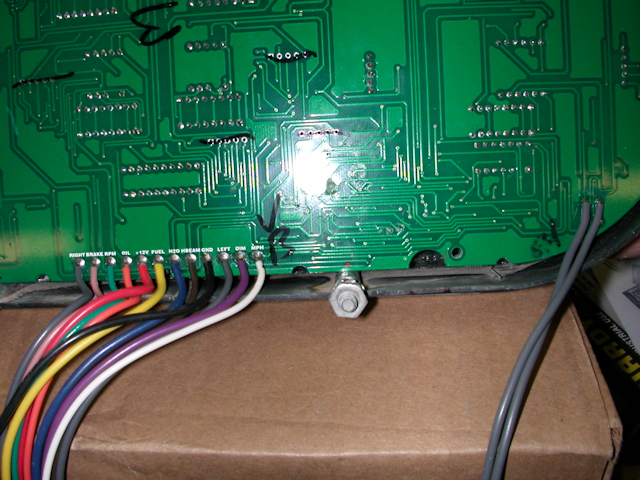
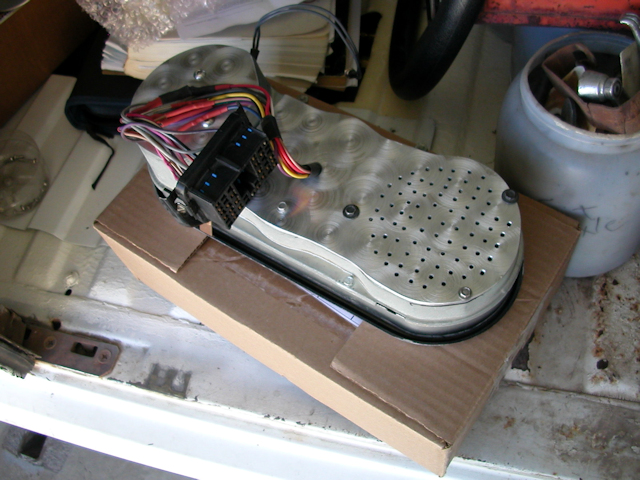
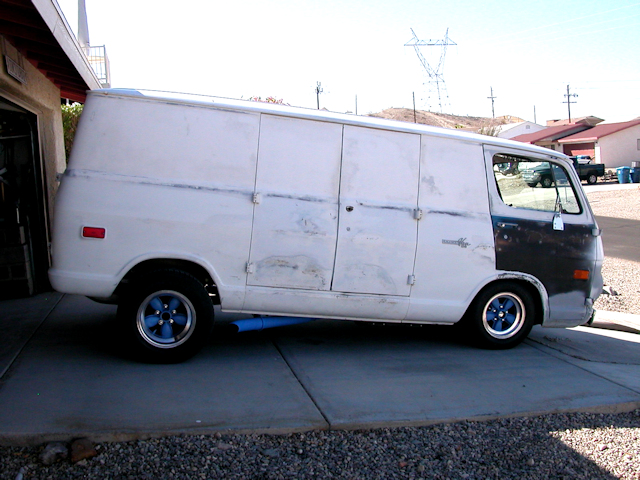
 The frame and the faceplate hang the whole shebang and the sides screw on.... The harness for the electricals are pulled through the first cross-brace from the power wall 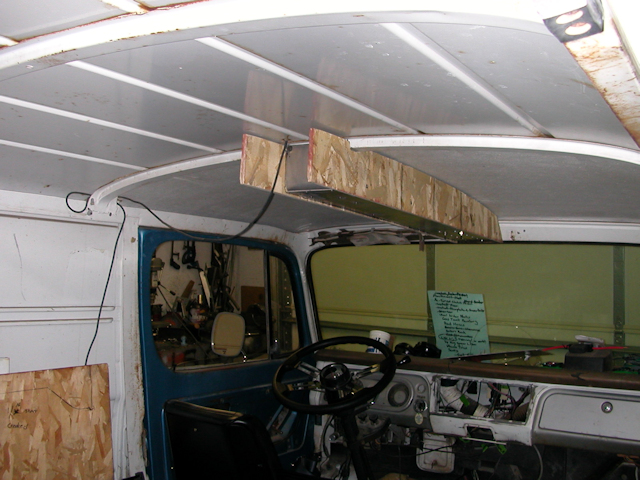 the sides are 7/16 OSB that I coated with elastomeric and painted black for a textured vinyl-like finish.... 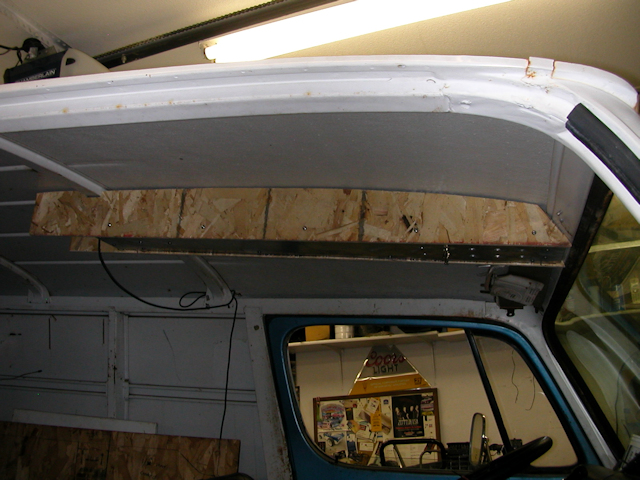 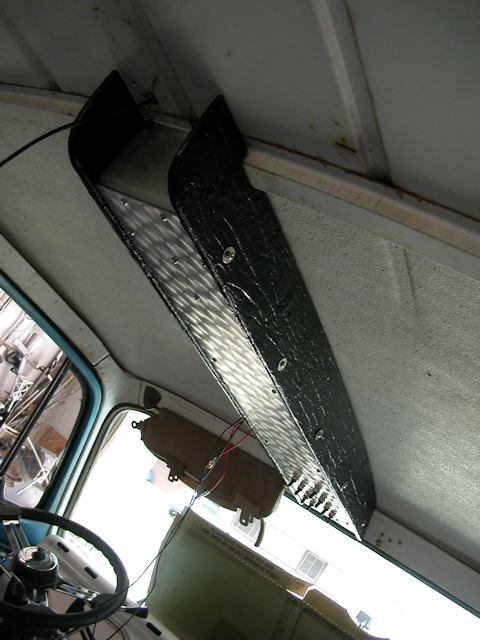  Here is a pic of the left side which has three power sockets..... one for each battery and one for ignition.... I can plug the voltmeter into whichever I'm curious about...  |
savage likes this post
AzDon wrote:Sooo....
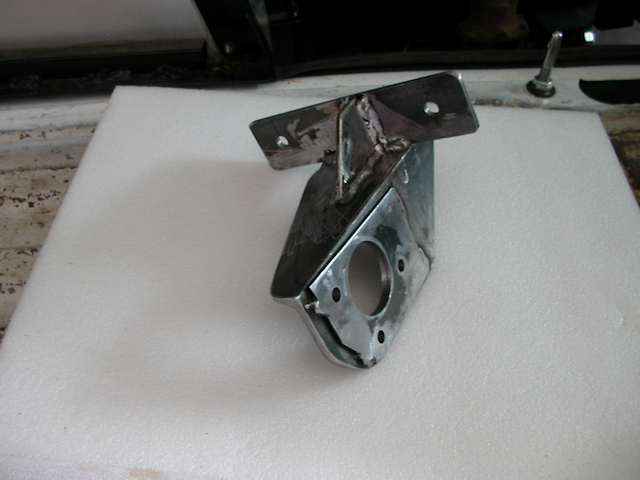
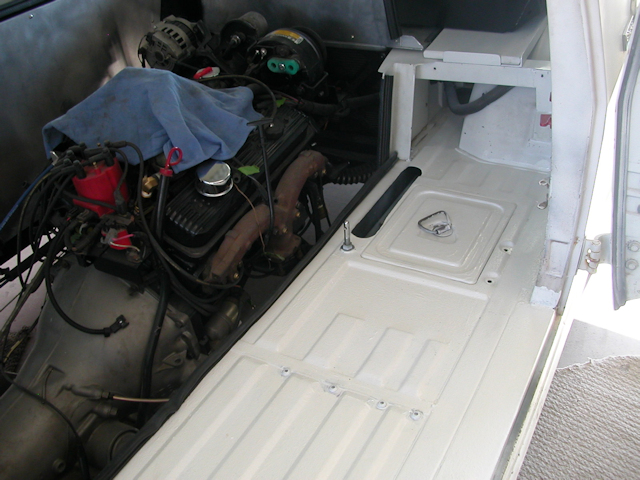
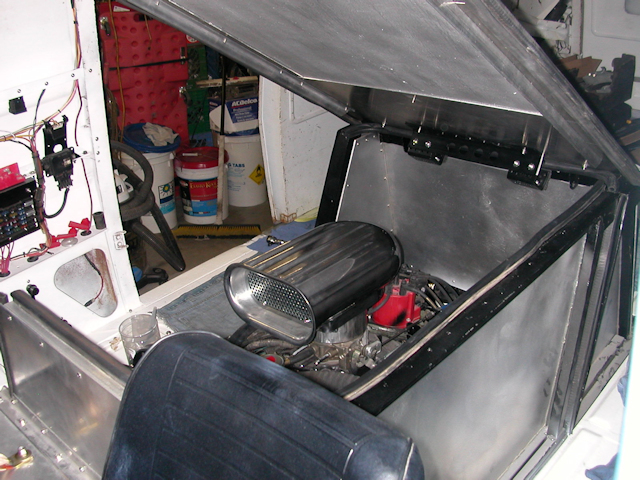
Here is a picture of my driver seat base frame.... The piece of 3/4" wood bolted to the bottom of the seat locks into the frame while anybody is seated, but can be pulled out quickly to access the center hatch lid (rubber edged) About a third of the seat sets on that lid
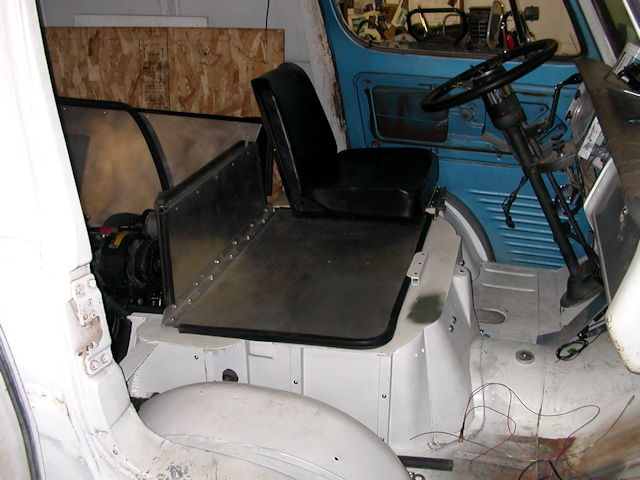
And here is with the seat locked in...


 ...
...


chiefcrewdog likes this post
gmytych likes this post


|
|
|
