


Hey..... thats a great idia! Looks good and must function well also!
+4
kermit
sasktrini
Vanish
G-Man
8 posters
Replacing the /6 in the Mystery Machine

benwah- Number of posts : 1135
Location : the land of broken dreams and shattered hopes CT
Registration date : 2008-07-05

jkr- Number of posts : 1148
Location : prince edward island canada
Age : 66
Registration date : 2008-05-29
no offence neil but be real careful with that setup. these old engines make a good pile of vibration and the starter relay with a battery positive terminal and your spare ground are dangeroisly close together. i'm no physics major but the angle of your bracket and gravity along with engine vibration could equal disaster no matter how tight the bolts are. just my 2 cents

Guest- Guest
Good point. Maybe I'll move them around? What I didn't tell you though is, the bolts are WELDED to the metal bar! :-) I've also used toothed locking washers on every connection.
Guest- Guest
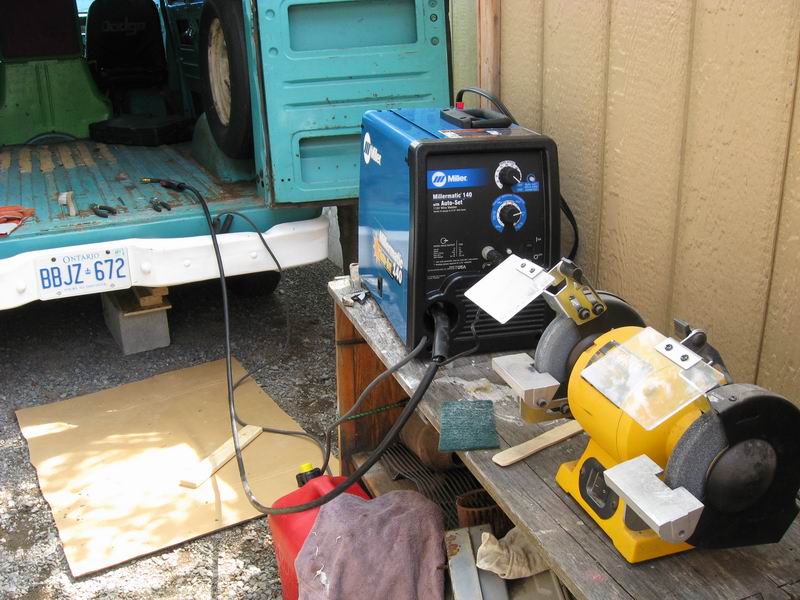
Speaking of welding, I bought a new Miller 140 welder. Works like a champ! I don't imagine I'll ever go back to a flux core wire thing after this, no way!
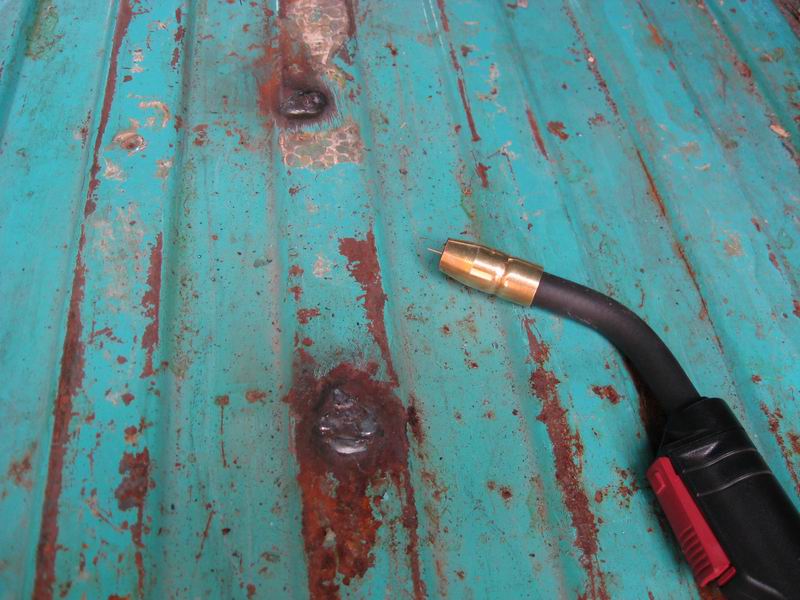
Project one was to weld up the holes in my floor, yes, the gas tank is out. That's being painted as we speak, then a new sender and new rubber hoses too.
I used a hydraulic jack to hold a piece of copper under the bottom just to make sure I didn't get burn through, works like a champ!
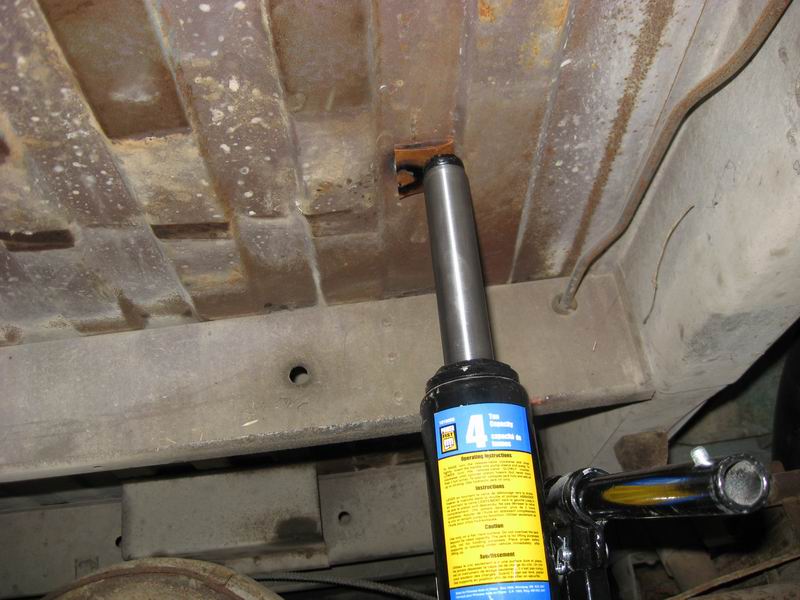
Project one was to weld up the holes in my floor, yes, the gas tank is out. That's being painted as we speak, then a new sender and new rubber hoses too.
I used a hydraulic jack to hold a piece of copper under the bottom just to make sure I didn't get burn through, works like a champ!
jkr- Number of posts : 1148
Location : prince edward island canada
Age : 66
Registration date : 2008-05-29
ok. that was forward thinking on your part to weld the bolts in place. should be good to go. yes those are great welders, we all should have one in our treasure pile.
Guest- Guest
Don't get me wrong, I only welded them because I pictured myself trying to adjust them with two wrenches and didn't like that thought. The safety thing never entered my mind!
I ALWAYS need a few tips on safety and someone to watch my back. It's the most important thing really.
I never used to wear safety goggles until I worked with a guy once that would shut down all the table saws and equipment and yell at me until I put them on. Since then I wear them 99% of the time and feel naked when I don't.
|
|
|